When you look in the mirror and see a broken or missing tooth, it can ruin your day. You might find yourself Googling, “what should I get to hide my chipped front tooth?” in an effort to mask this imperfection. And you’ll get plenty of results. The internet is full of quick fixes, but these are often messy and short-lived.
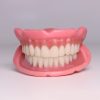
If you want a real solution that is both durable and looks professional, like a partial denture or a “flipper,” without the astronomical costs of going to the dentist, you might want to check out at-home dental impression kits.
If you’ve ever dealt with a dental issue from home, you know how valuable a good at-home kit can be. But if you’re new to them, just know that they can be fantastic in helping you get the perfect device that’ll fill in missing/chipped teeth.
But not all kits are created equal. If you want a device that fits you well, here is what you need to look for before you buy.
Why Would Getting an At-Home Dental Impression Kit Be Better than Going to a Dentist?
Simply put, the best reason why anyone would choose an at-home kit is for convenience and comfort.
The main draw of at-home dental impression kits is that they let you handle the first step of getting a dental appliance on your own schedule. You won’t need to take time off work or commute to a clinic for impressions because the kit arrives at your door, and you can do it when it’s convenient. This is especially helpful for those with mobility issues or anyone who lives far from a dentist. It’s also a huge relief for the 26.8% of people with severe dental anxiety.
Another fantastic bonus, especially for those on a fixed income or tight budget, is the cost savings you get when you buy online. Ordering a custom dental product from a lab via an impression kit can be more affordable than getting the same thing through a dentist. Traditional dental offices have higher overhead and often charge high prices for custom appliances. Of course, prices vary depending on your location and your dentist, but generally, at-home kits enable access to budget-friendly alternatives for dentures, night guards, retainers, and more.
You might wonder if doing it at home means a worse result. The answer is that quality will not be compromised if you choose the right provider. Dental labs can take your at-home impression and use the same advanced techniques and materials a dentist would. It might even be fun (or not-so-fun) to learn that many dentists’ offices send impressions to outside labs. As long as the impression you take is accurate and the lab is reputable, the final product can be indistinguishable from one made when you go to a dentist.
What to Look For in a Quality Impression Kit
Most dental labs will have fantastic impression kits, but some will be better than others. If you want to get the best results and avoid a messy, frustrating experience, keep an eye out for the following features and services when choosing a kit.
1. Kits should be complete and have high-quality materials
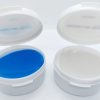
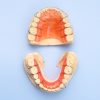
The kit should include everything needed to take a proper impression. That typically means customizable trays, dental putty, and instructions, at a minimum.
The putty should be a good-quality, medical-grade silicone that captures fine details. Cheap kits might skimp on putty quality or quantity, which some even provide a clay-like material that doesn’t set right (you’ll want to avoid those).
A good kit provides enough putty for at least two tries (upper and lower) and extra in case of mistakes.
Also, a prepaid return mailer or shipping label is a big plus, so you’re not paying extra to send your impressions back.
2. There should be easy-to-understand instructions and plenty of support if you need it
A good kit will be beginner-friendly. Look for ones that advertise easy-to-follow guides or even include a link to an instructional video.
The instructions should explain how to mix the putty, how long to bite into the tray, any dos/don’ts, and anything else you’ll need to take a good impression.
Some kits from reputable companies go a step further by offering customer support if you’re unsure about your impression.
3. Only go with companies that use high quality impression materials
It’s worth emphasizing that the materials should be dental grade.
Professional dental putty (alginate alternatives or VPS silicones) will capture very precise detail and set firmly. Low-end kits might use cheaper alginate powder that you have to mix with water; those can be trickier to get right. High-quality silicone putties usually come pre-measured, where you just mix two blobs, and you’re ready to go.
Make sure that the materials are safe, meaning that they are FDA-approved, non-toxic, and without bad taste or odor. If you see complaints in reviews about putty tasting like chemicals or making someone gag, those providers should be avoided.
Also, avoid “thermoform” kits that have you bite into hot wax. Those are outdated and often yield poor results.
4. Make sure they have professional lab processing
Go with a lab that states your molds will be handled by licensed dental technicians or a certified dental lab. Look for indications of quality like the lab being US-based or regulated, they mention using FDA-cleared materials, or they have positive reviews of the final products.
5. Check turnaround times
If you’re eager to get your new teeth or device, turnaround time is another thing to look at. Top service providers usually have a turnaround of about 2-4 weeks for dentures or other custom appliances.
6. Only order from labs that have a warranty or satisfaction guarantees
This is a big one. The best at-home dental impression kit services stand by their product. Look for a warranty or guarantee on the custom appliance you’ll receive.
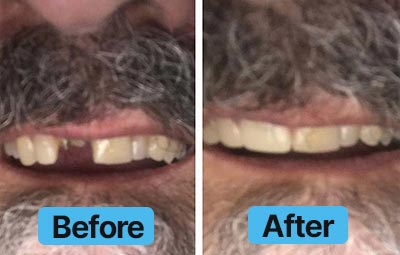
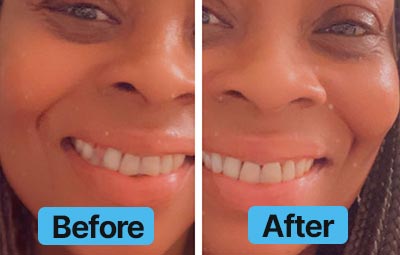
What Should I Get to Hide My Chipped Front Tooth?
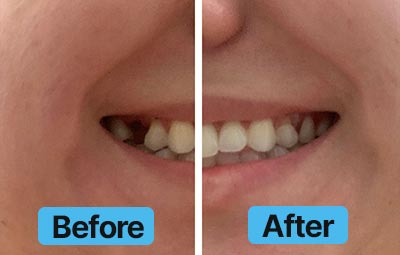
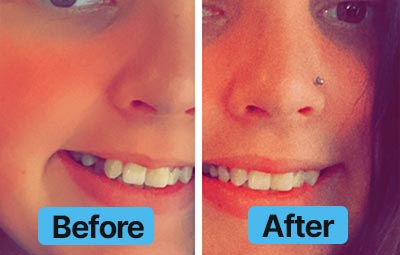
Let’s address that specific question because it’s a common situation that leads people to seek at-home solutions. A chipped front tooth can happen at the worst times (biting something hard, an accident, etc.), and it can be embarrassing if not fixed.
If you’re asking, “What should I get to hide my chipped front tooth?”, you basically have two routes: in-office dental treatments or at-home cosmetic fixes.
For a minor chip, often the best long-term fix is to see a dentist for bonding or a porcelain veneer.
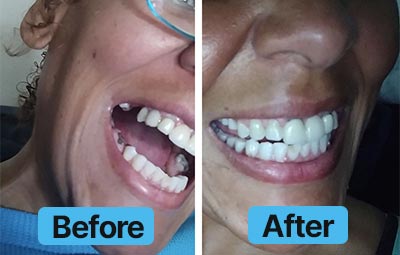
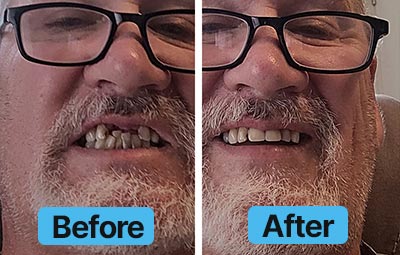
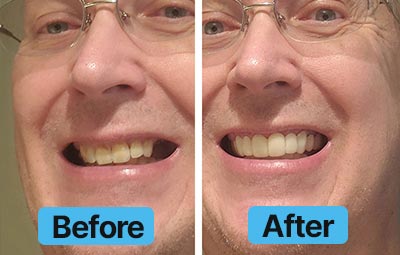
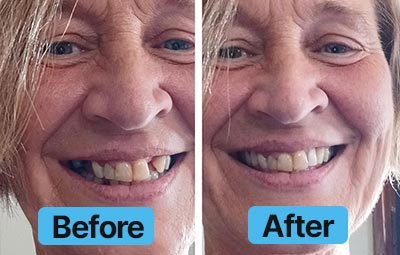
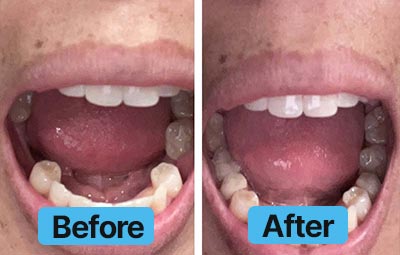
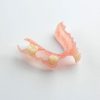
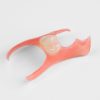
If you can’t get to a dentist or you prefer a non-invasive approach, an at-home impression kit can help you get a cosmetic appliance like a partial denture to hide the chip or any missing teeth. If you’re missing all your teeth, you’ll want to go with full dentures.
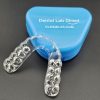
Get the Best At-Home Dental Impression Mold Kit
At-home dental impression mold kits have opened up a world of possibilities. If you want the best of the best, check out Dental Lab Direct. With our dental impression kits, a better smile is just a mailbox away!